BYOD Installers
Note: BYOD Installers is an add-on feature
To enable this feature, contact us at [email protected] or via the Intercom chat
This guide describes how to setup a certificate-based installer designed for BYOD (Bring Your Own Device).
Features
The install is agent less and installs the certificate to the below supported device platforms:
Getting started
You can create multiple profiles on the BYOD page.
- Go to BYOD Installer Config page.
- Click on the Add BYOD profile button.

Add BYOD profile
- Fill-in the NetID as mentioned below:
- Profile name - Your profile name
- Description - Change the description according to your needs.
- SSID - Your SSID
- Identity Provider - Choose Google Workspace or Microsoft Azure AD depending on your use case.
- Logo - Upload your org's logo.
- Background color - Choose a background color.
- Portal color - Choose the portal color.
- Click 'Save' and refresh the page.

Configure NetID
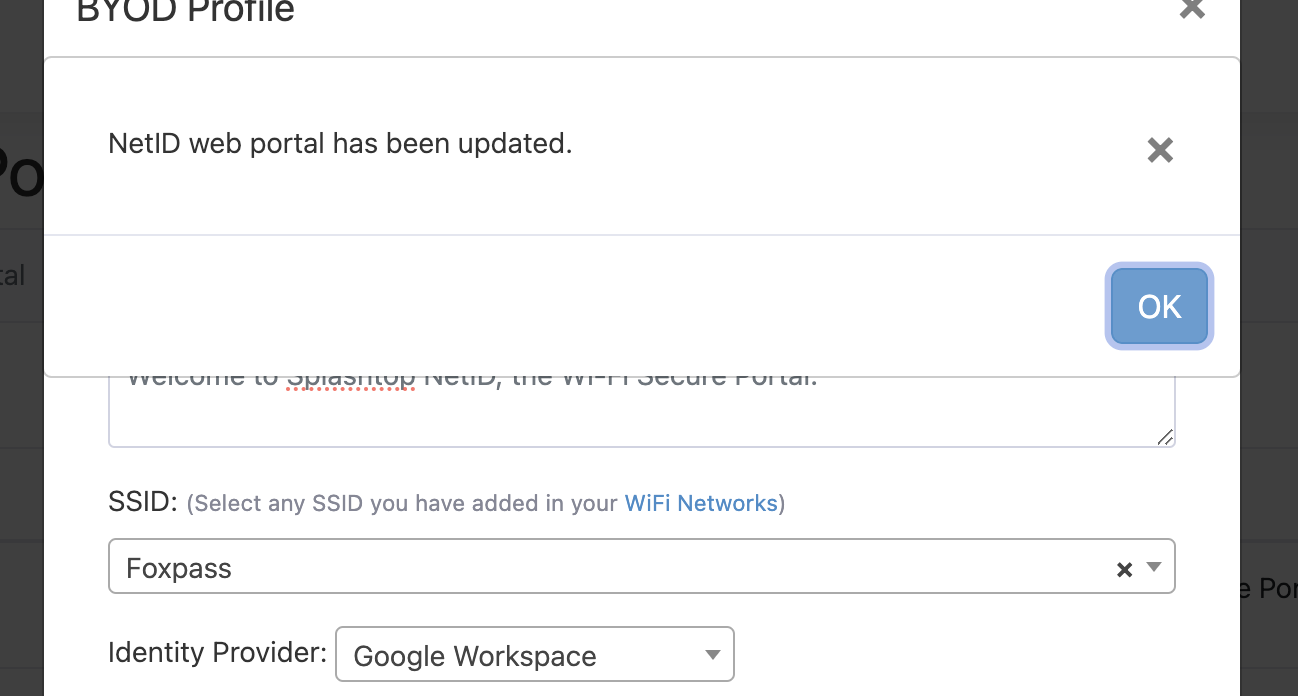
Dialog after clicking Save
- You can download NetId by clicking the Settings button > Visit > Download NetID.
- You can also Edit, Download ChromeOS Config or Delete the profile depending on your use case.
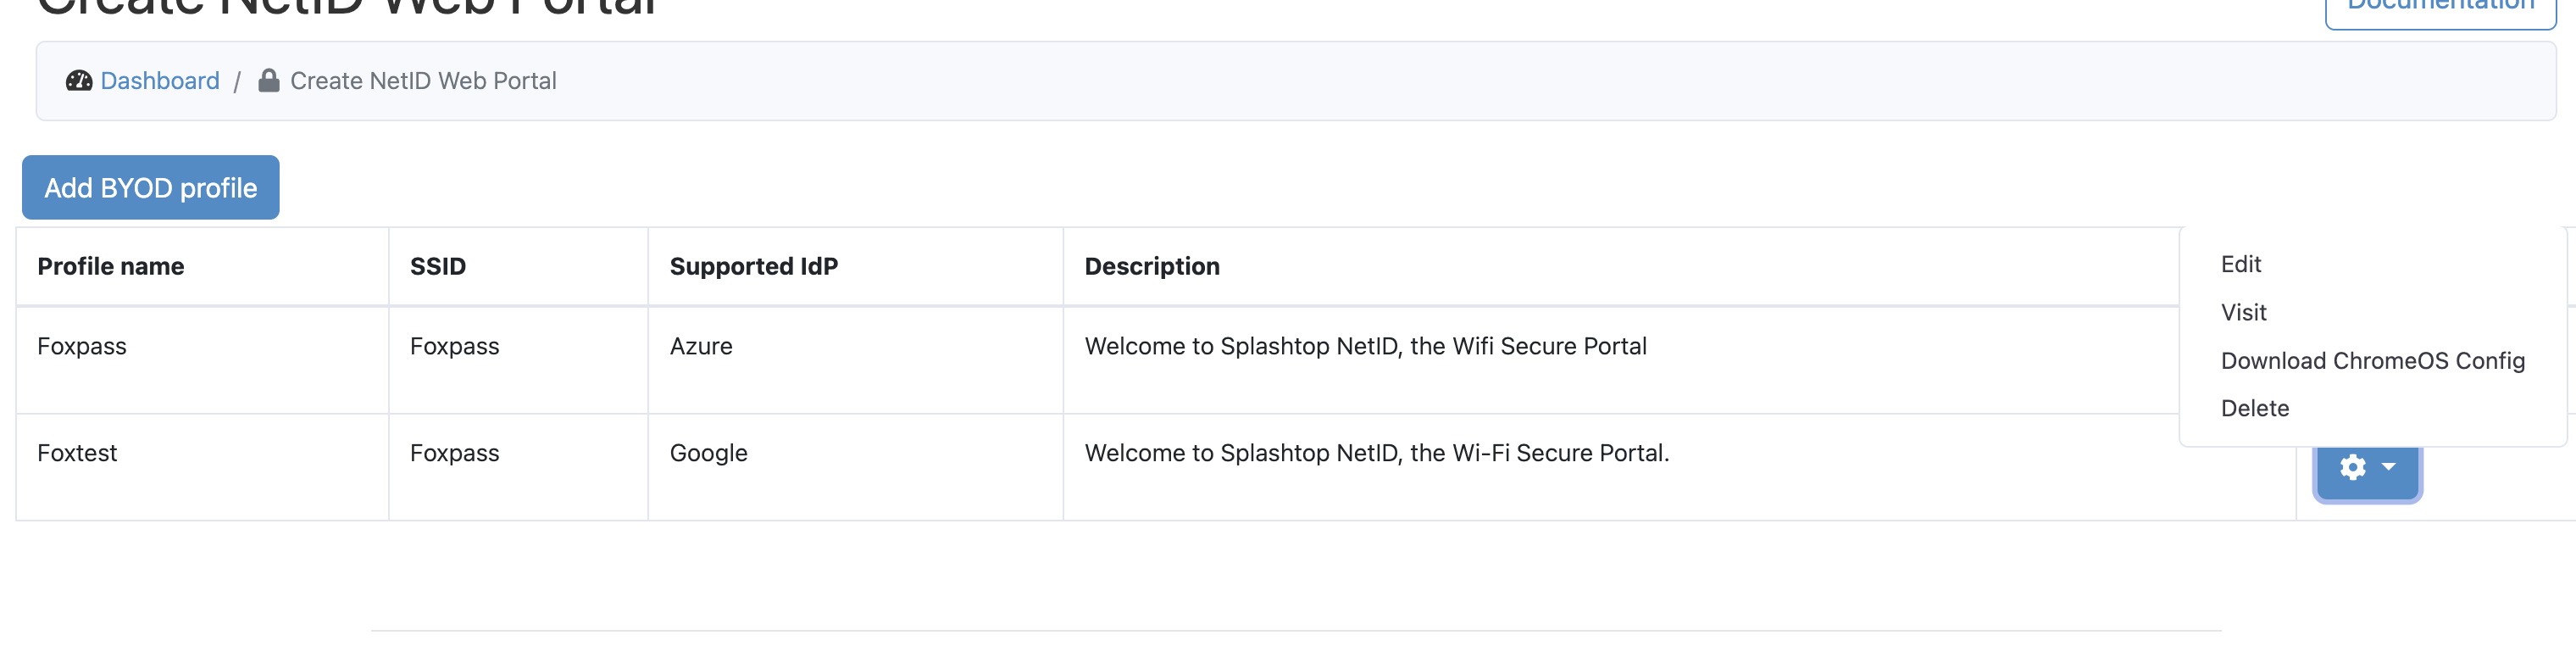
Settings button
Note:
- SSID is case-sensitive and require exact matches with Wi-Fi SSID that was set up.
- Identity Provider currently supports only Google or Microsoft
Updated 2 days ago