Chromebook Auto Enrollment via Google Admin
Learn how to streamline Chromebook auto-enrollment efficiently using the Google Admin Console with this concise guide.
Make sure to select Google Workspace as the identity provider while setting up NetID Web Portal.
After setting up the NetID Web Portal in Foxpass, we can proceed to Chromebook Auto enrollment process.
1. Download ChromeOS Config
- Click on the Download ChromeOS Config button on the BYOD page. The texts in the download will be used for Policy for extensions in the following Google Admin Console.
Click on Download ChromeOS Config button
2. Configure Splashtop NetID Extension in Google Admin console.
- Navigate to Devices -> Chrome → App & Extensions.
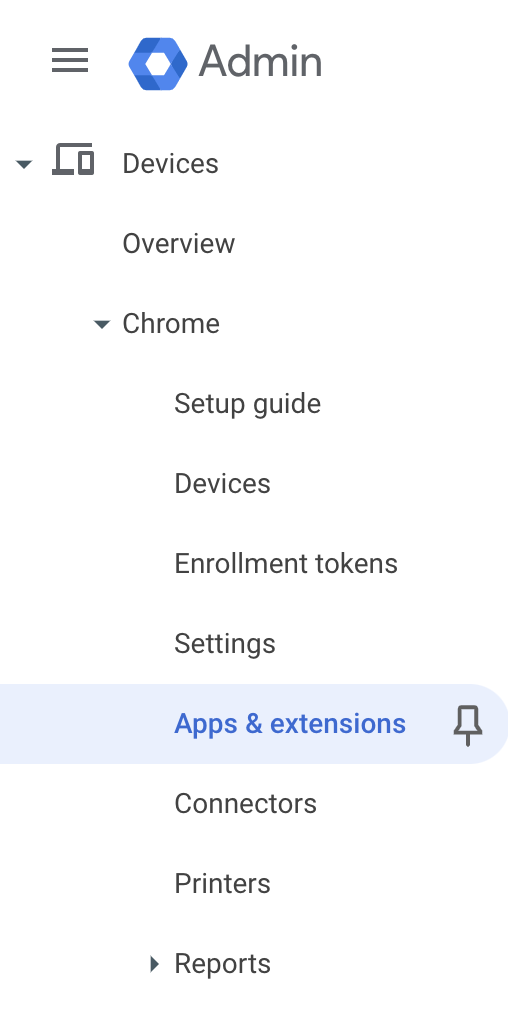
Click Apps & Extensions
- In the User & browsers tab, click “+” (bottom right corner), and click “Add from Chrome Web Store”.
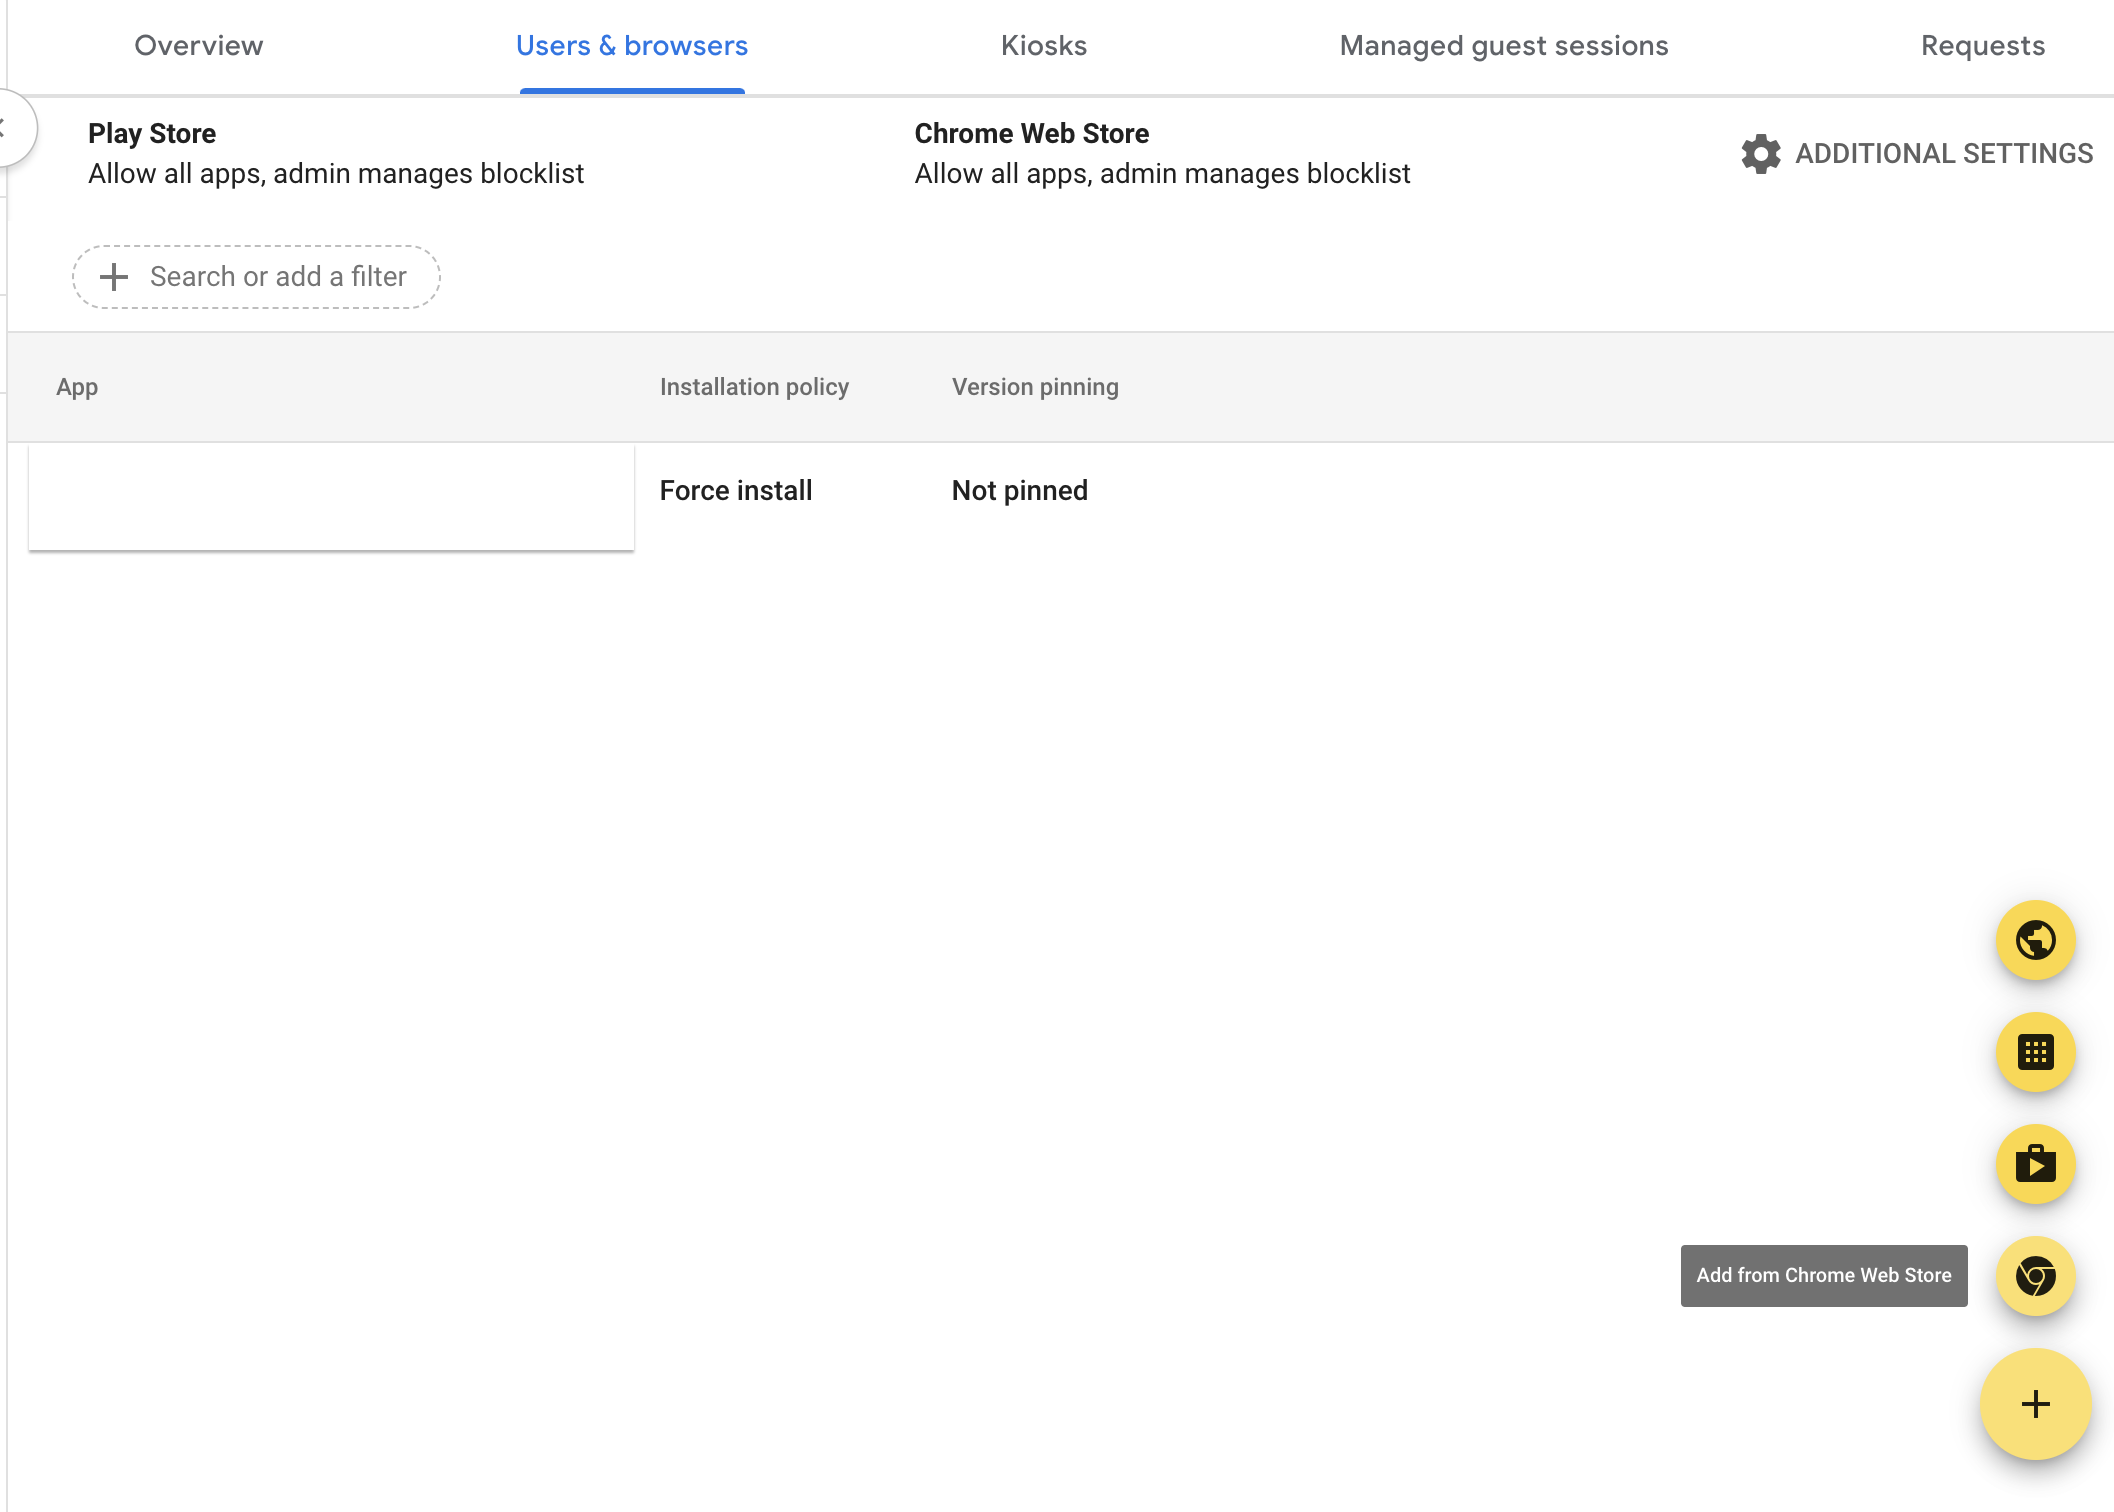
Click Add from Chrome Web Store
- In the pop-up dialog, search “Splashtop NetID” to select the Splashtop NetID app.
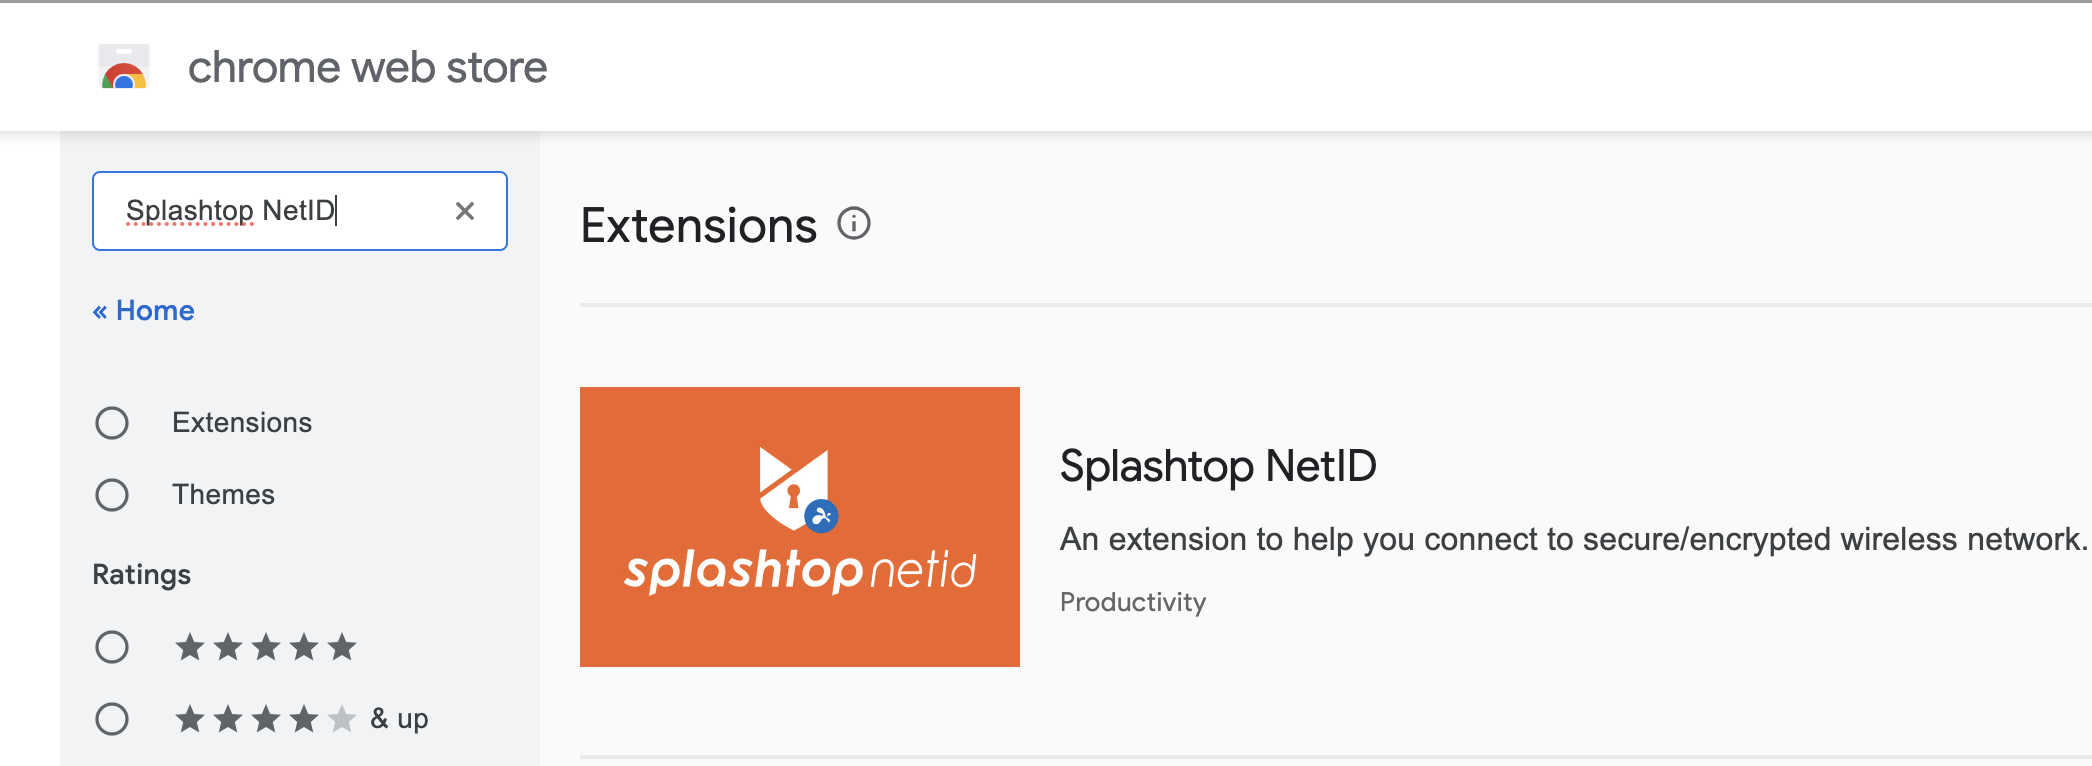
Search for Splashtop NetID
- Select the app. Click 'Select' button.
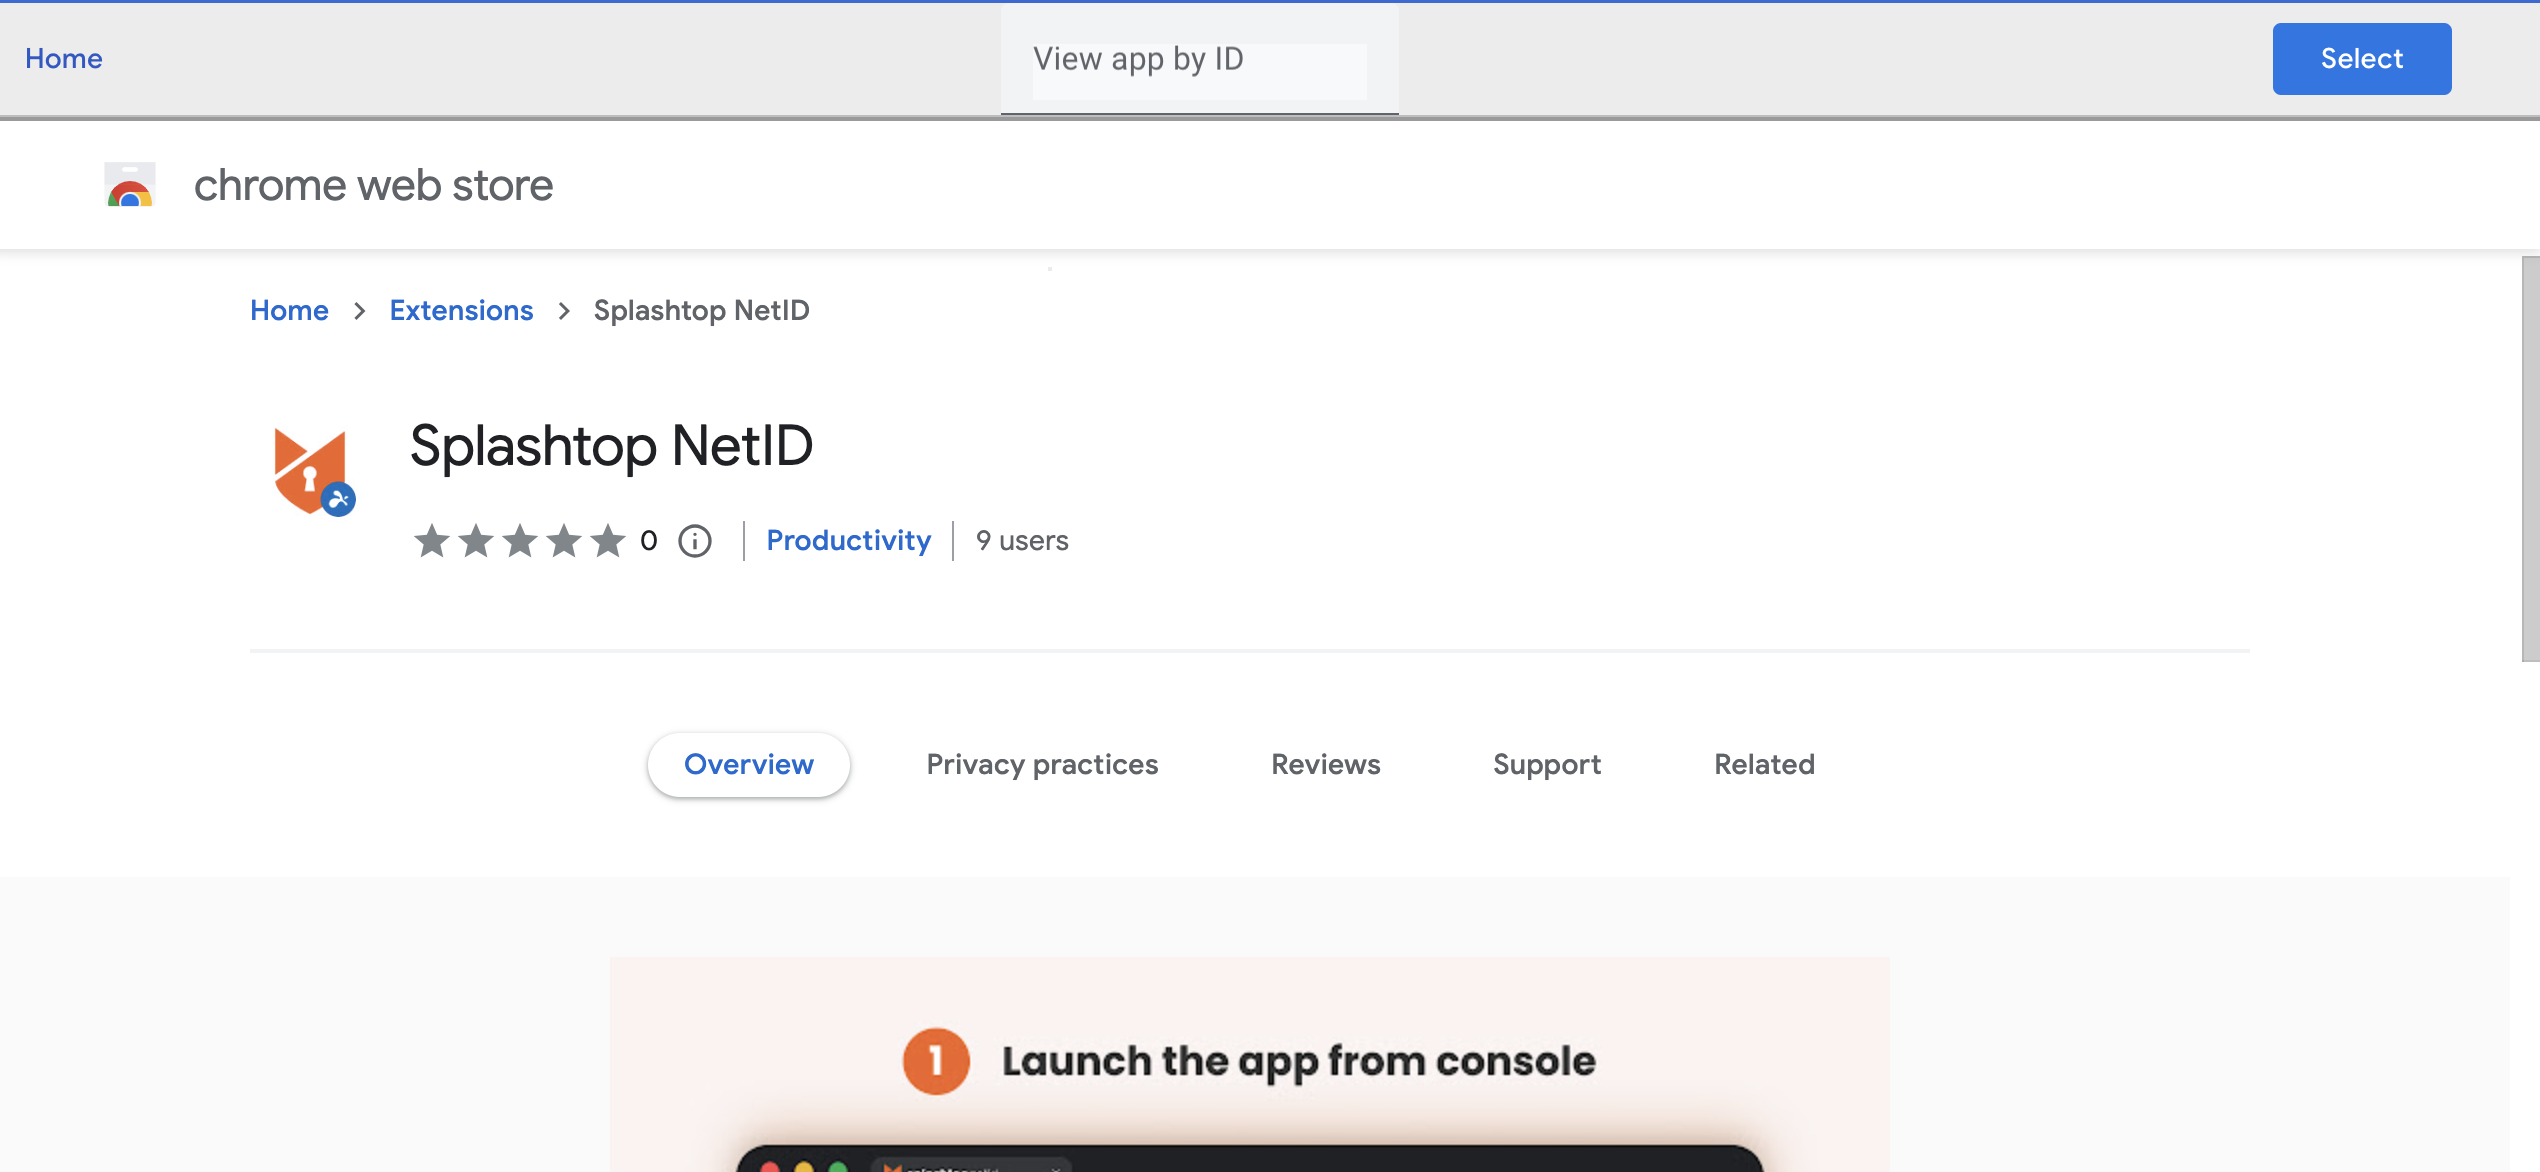
Click the Select button
- Allow Force install +pin browser toolbar.
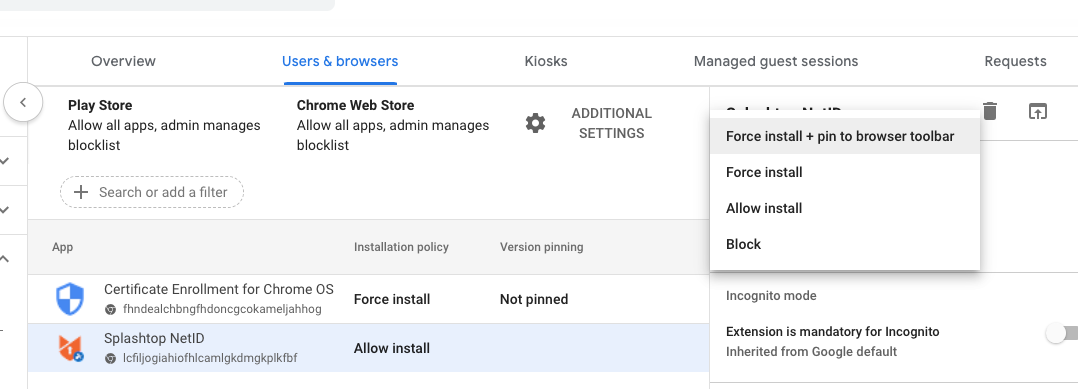
Allow Force install and pin to browser toolbar
- Enable “Allow access to keys” under the the Certificate management. Click the 'Save' button.
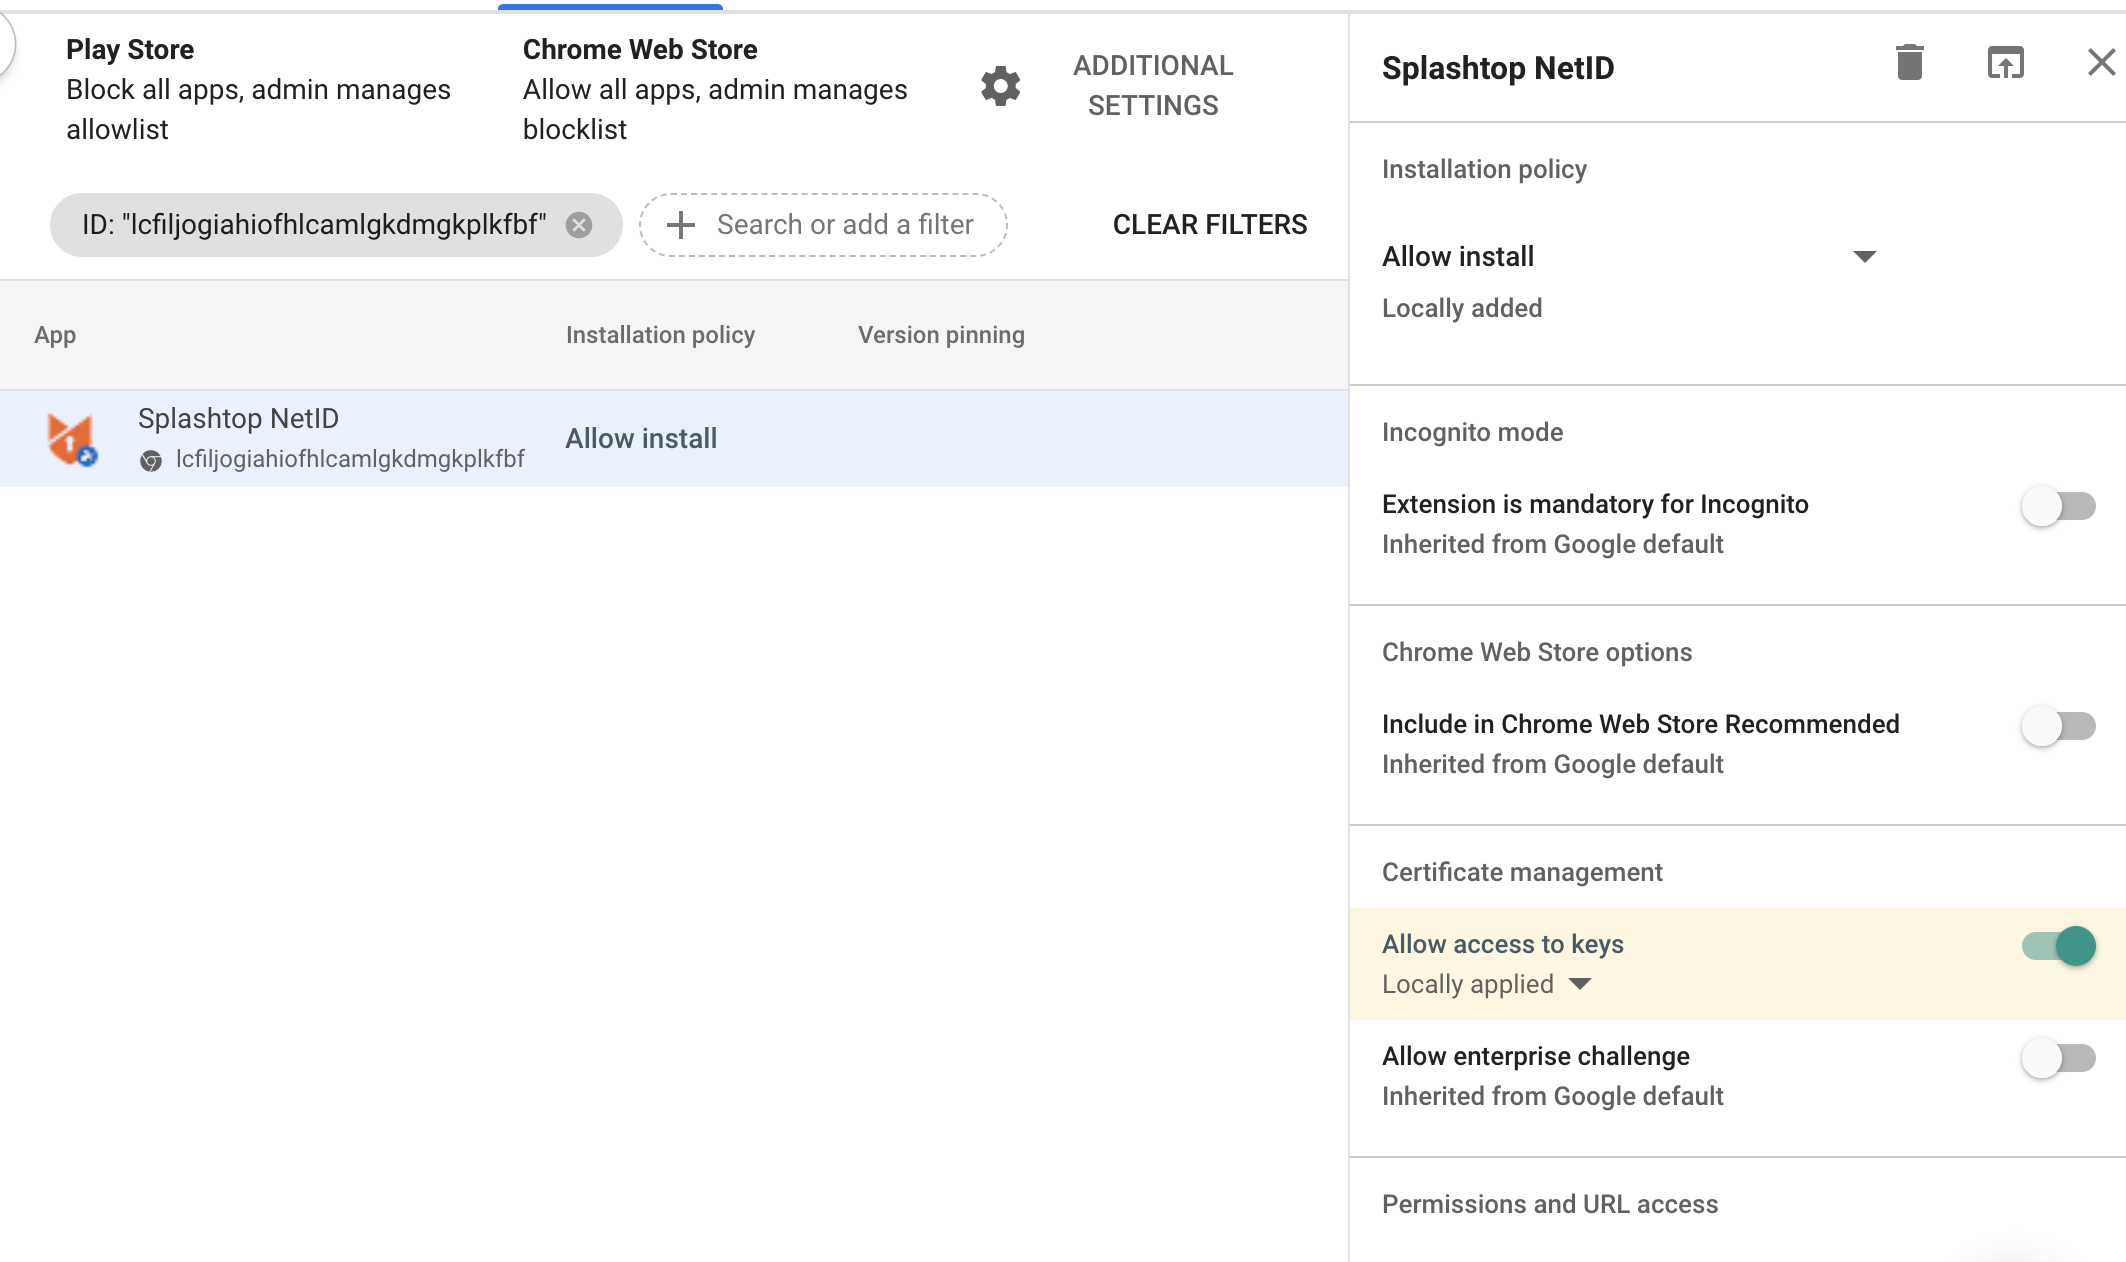
Allow access to keys
- Scroll below, and add JSON configuration file downloaded in the Step 1 under the “Policy for extensions“. Click 'Save' button.
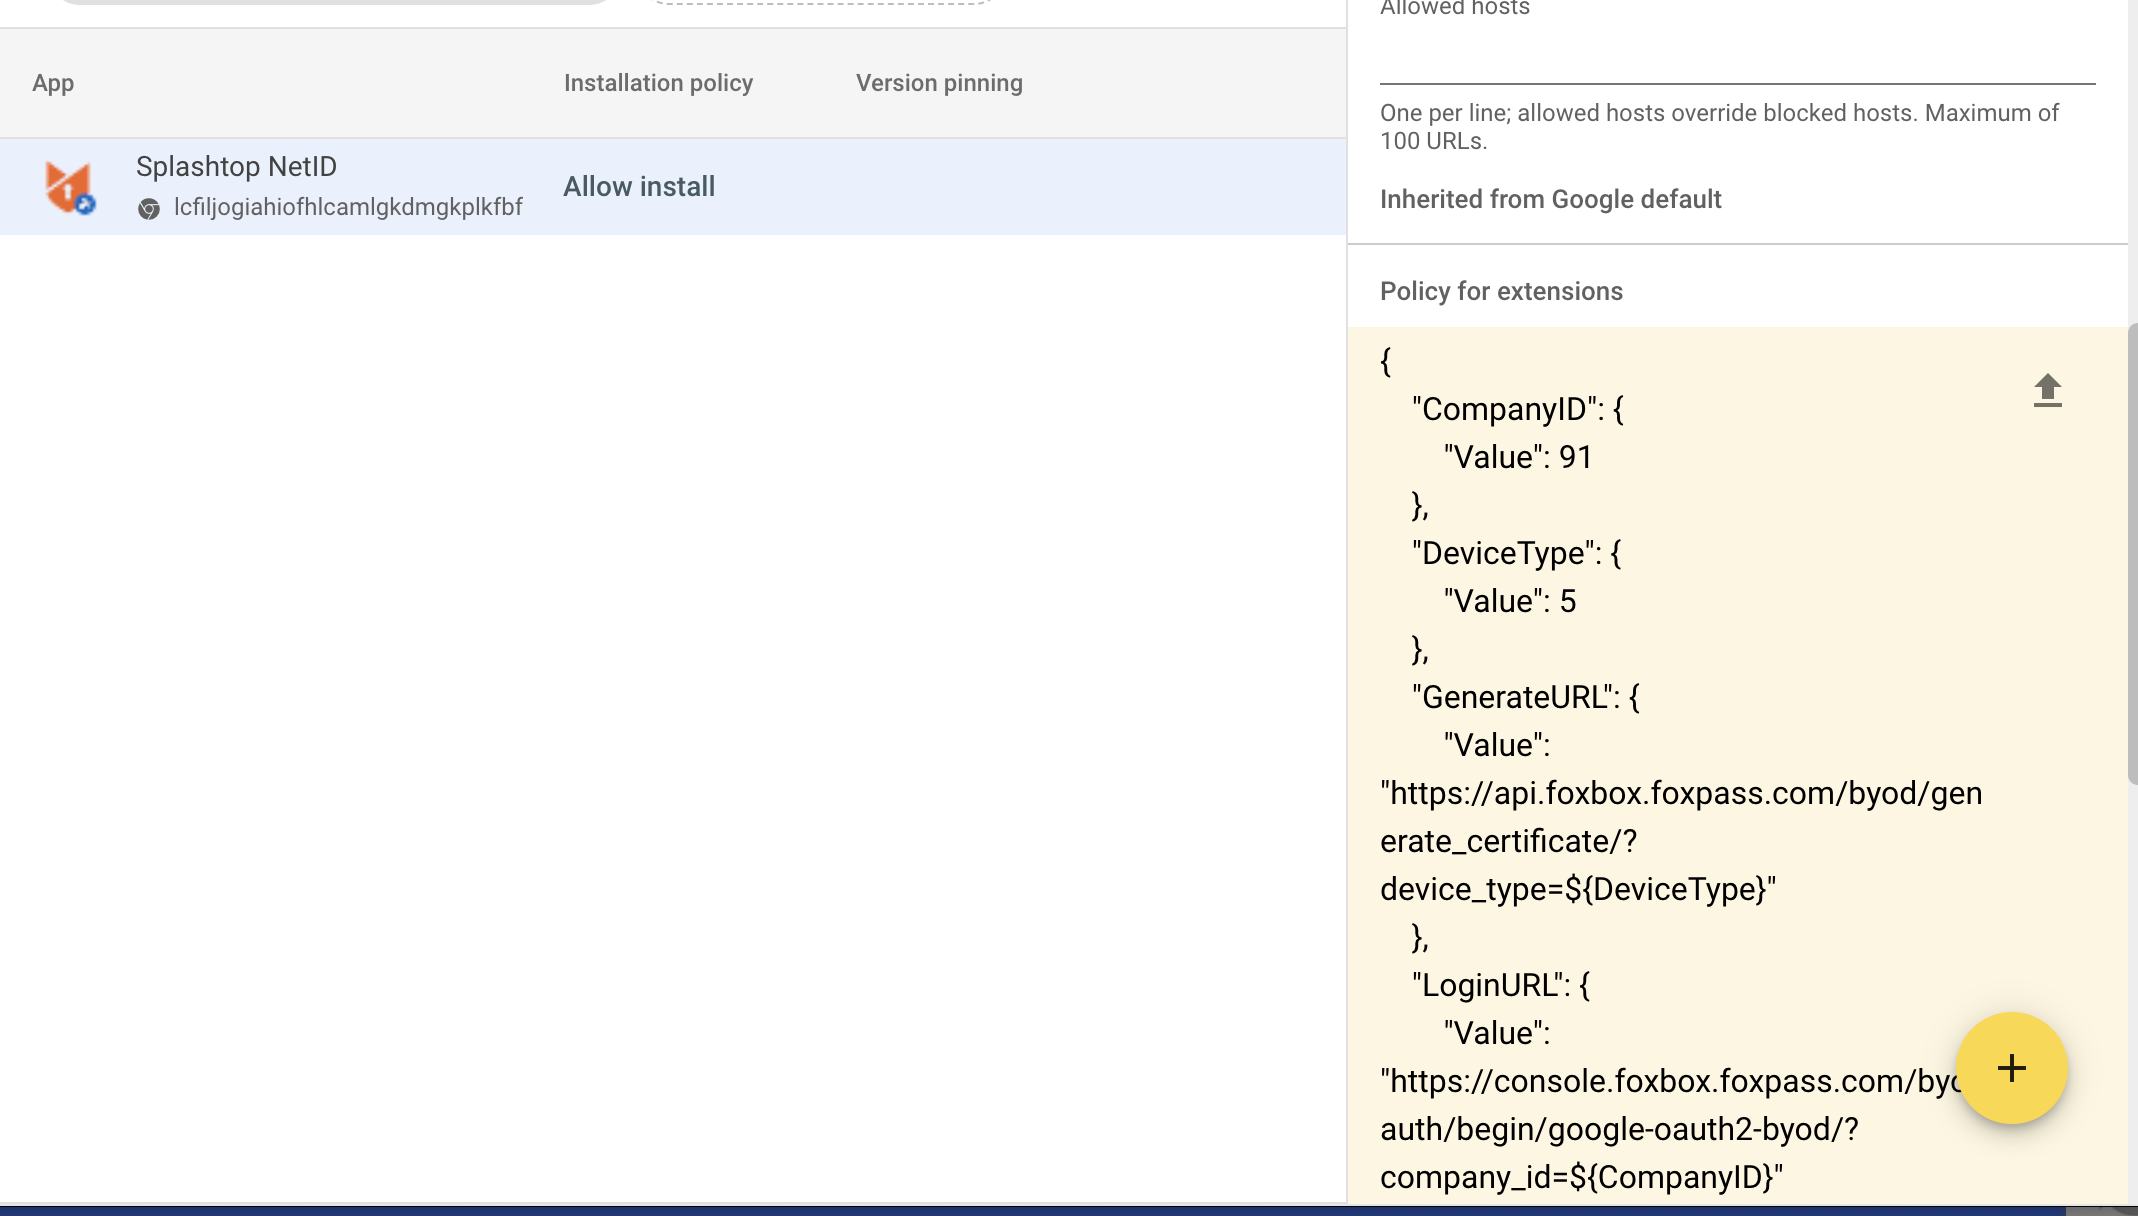
Paste JSON
3. Configure Certificates in Google Admin console
- Download the Active Server CA from Foxpass EAP-TLS page.

Download Active Server CA
- In the Google admin console, navigate to Devices ->Networks, click “Add Certificate“. “UPLOAD” the server certificate downloaded in step 1 above, and check the option for Chromebook. Click the 'Add' button.
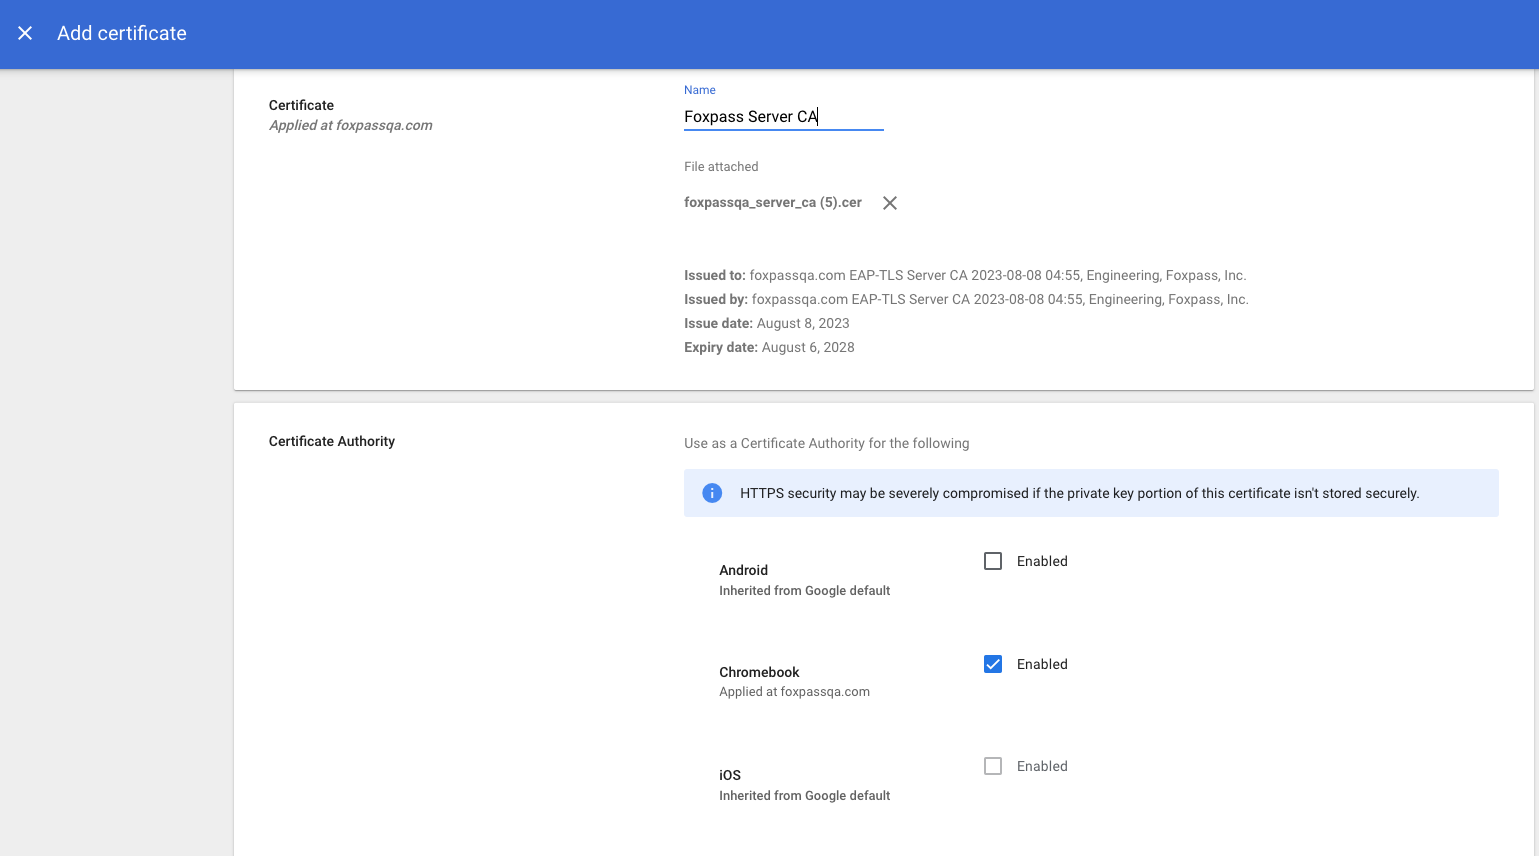
Upload Foxpass Server CA
4. Configure Wi-Fi in Google Admin console
- In the Google admin console, navigate to Devices > Networks > Wi-Fi > Add Wi-Fi.
- Check both Chromebooks(by user) and Chromebooks(by device) under Platform access.
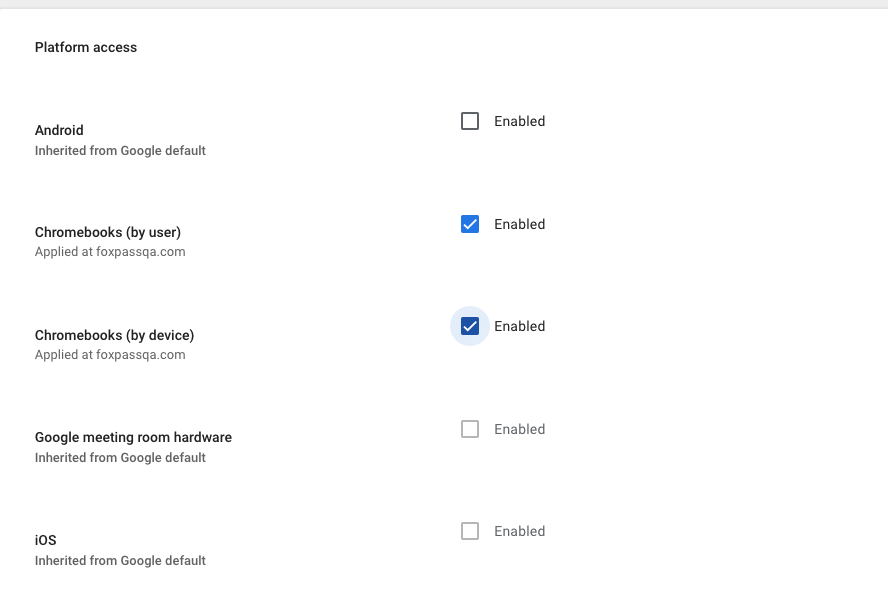
Enable Platform access for Chromebooks
- Details:
- Name : Your choice
- SSID: Your SSID configured in your access point
- Check Automatically Connect.
- Security Type: WPA/WPA2 Enterprise(802.1X)
- Extensible Authentication Protocol: EAP-TLS
- Username: ${LOGIN_EMAIL}
- Server Certificate Authority: Select the Server CA uploaded earlier.
- Click the 'Save' button.
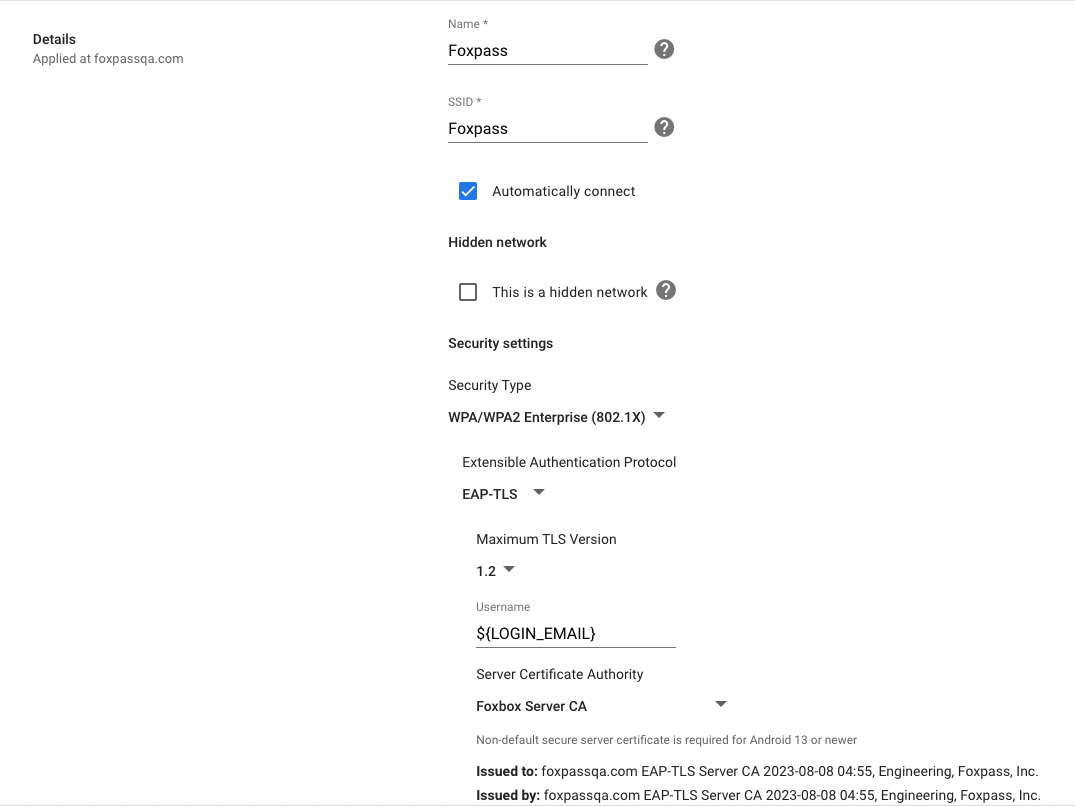
Wi-Fi settings
5. Set up the chromebook
You can enroll chromebook for Personal use. Once enrolled, you can go to chrome://certificates to see the user certificate issued by foxpass. If everything is configured correctly in Google admin, your chromebook will be connected to your SSID.
Updated about 2 months ago