Jamf Device Sync
Sync your Devices from Jamf
Jamf API Privileges
Step 1: Access Jamf Admin Console
- Log in to your admin account on the Jamf Pro cloud organization.
- Navigate to the Settings tab in the left sidebar.
- Use the search bar to find "API Roles and Clients" and select it.
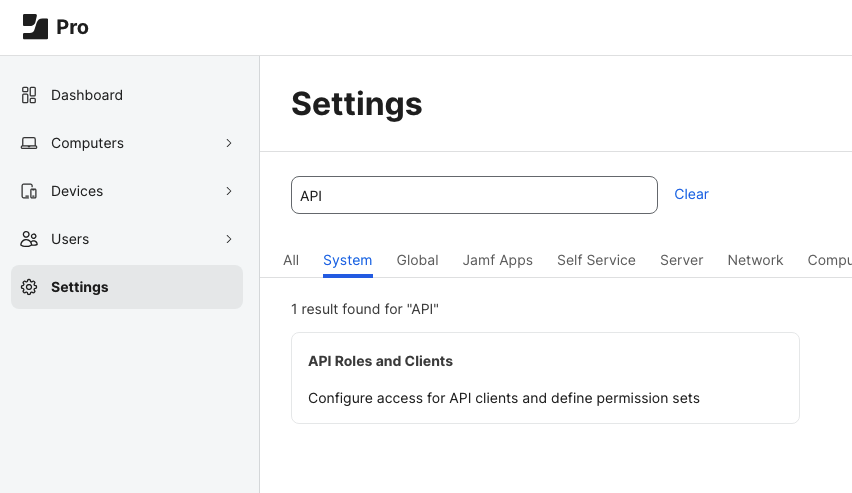
Navigate to the Settings bar and search for "API" to configure your roles and clients.
Step 2: Configure API Roles
- Create a new API role (name is arbitrary) or use an existing one.
- Assign the permissions "Read Computers" and/or "Read Mobile Devices". This allows our sync API to access the appropriate devices from Jamf.
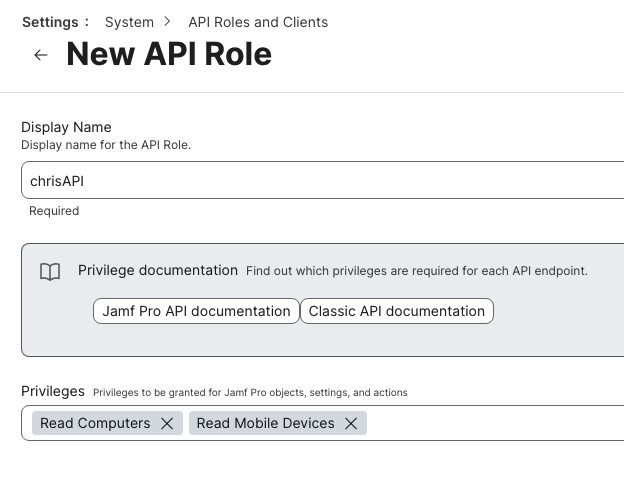
Ensure you have "Read Computers" and/or "Read Mobile Devices" enabled in the privileges section, as shown above.
Step 3: Set Up API Clients
- Go to the API Clients section.
- Create a new API client or select an existing one (name is arbitrary). Assign the newly created or chosen API role to this client and set a token lifetime as desired and click 'Enable', then 'Save'.
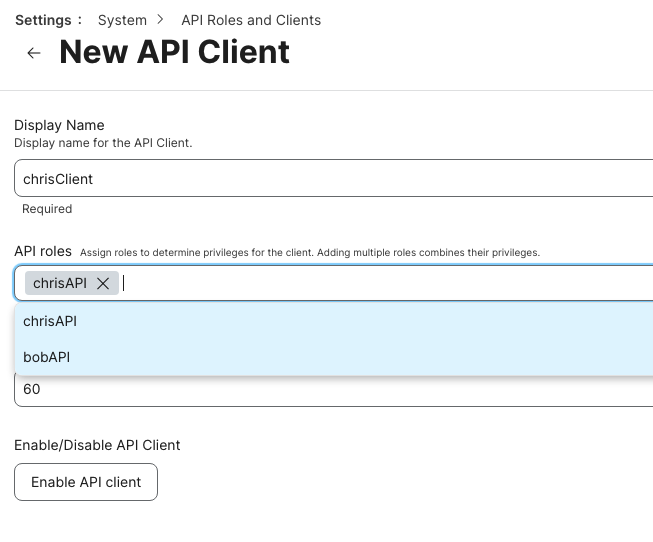
Create the API client with the role we created earlier and click 'Enable API client'. Then click on this client again to generate the secret.
- To generate the client-id/secret, click on your API client's name and then select 'Generate client secret'.
- Note: The client secret is shown only once. Make sure to copy and save it securely.
- Lost the secret? Click 'Rotate client secret' to generate a new one.
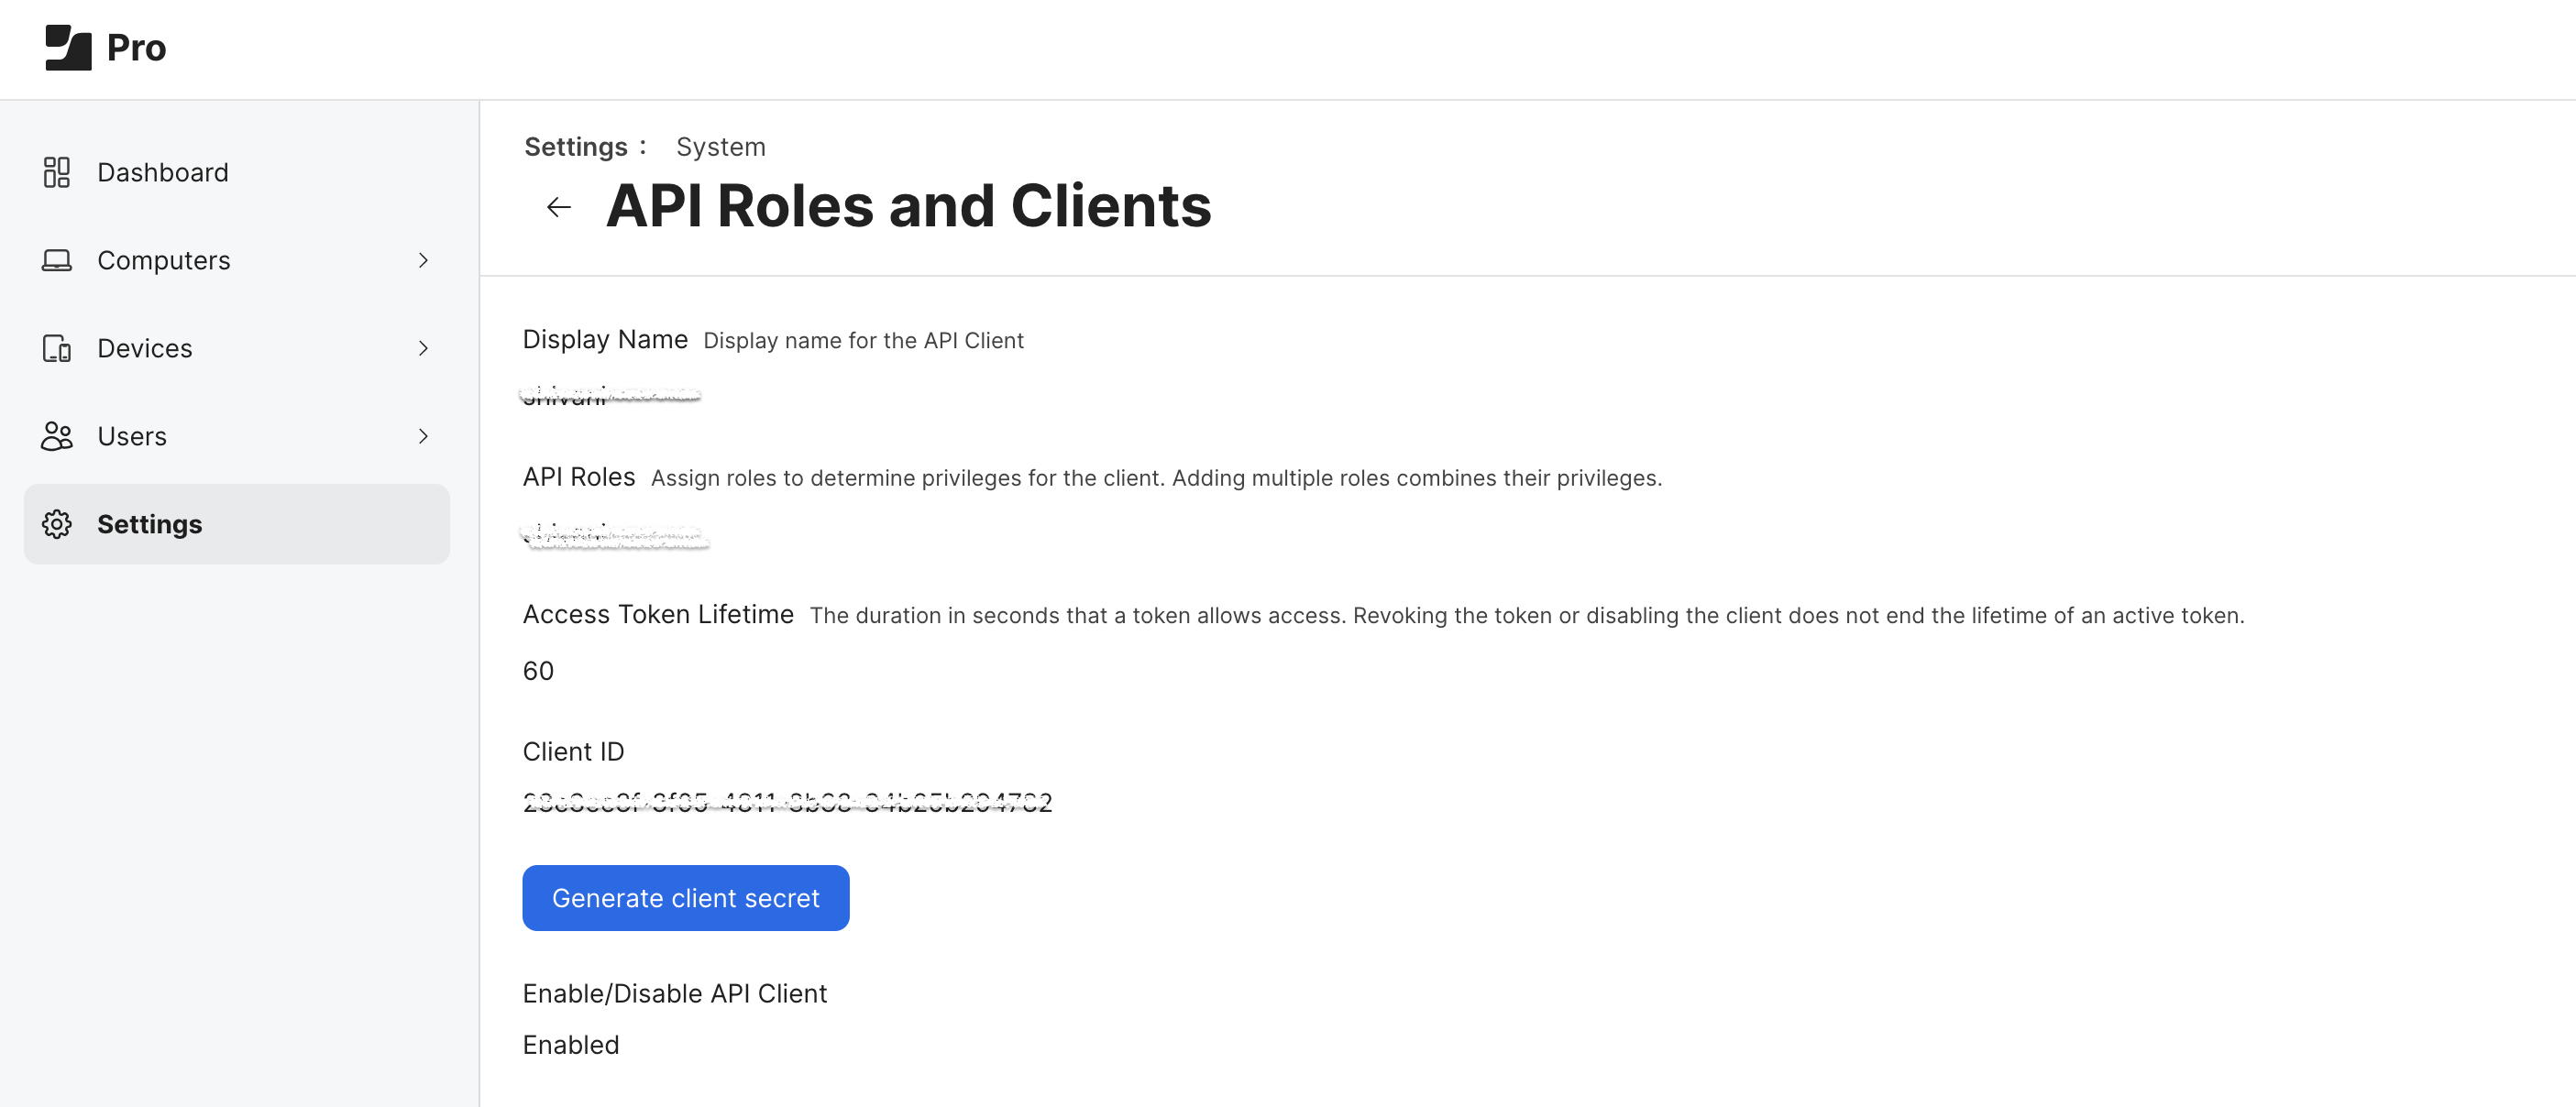
Click Generate secret
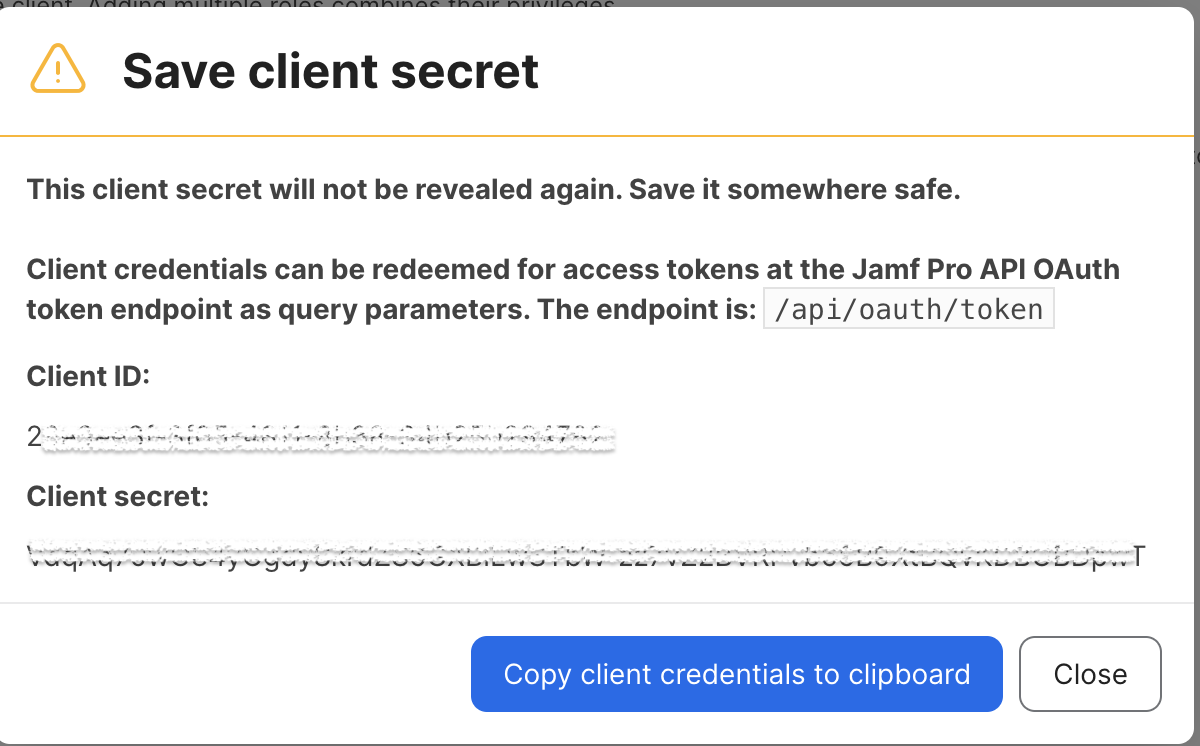
Copy client credentials
Set up JamfConnector on Foxpass
Step 4: Access Foxpass Console
- Navigate to the Devices page on your Foxpass console.
- Click on the Jamf tab.
Step 5: Add Jamf API Key
- If you haven't set up a JamfConnector, click 'Add Jamf API Key'.
- In the modal window, enter your Jamf credentials:
Client ID: Found on the Jamf console by clicking your API client.
API Key: The client secret saved from earlier (regenerate if needed).
URL: Your Jamf console URL (e.g., https://foxpass.jamfcloud.com). - Click Submit.
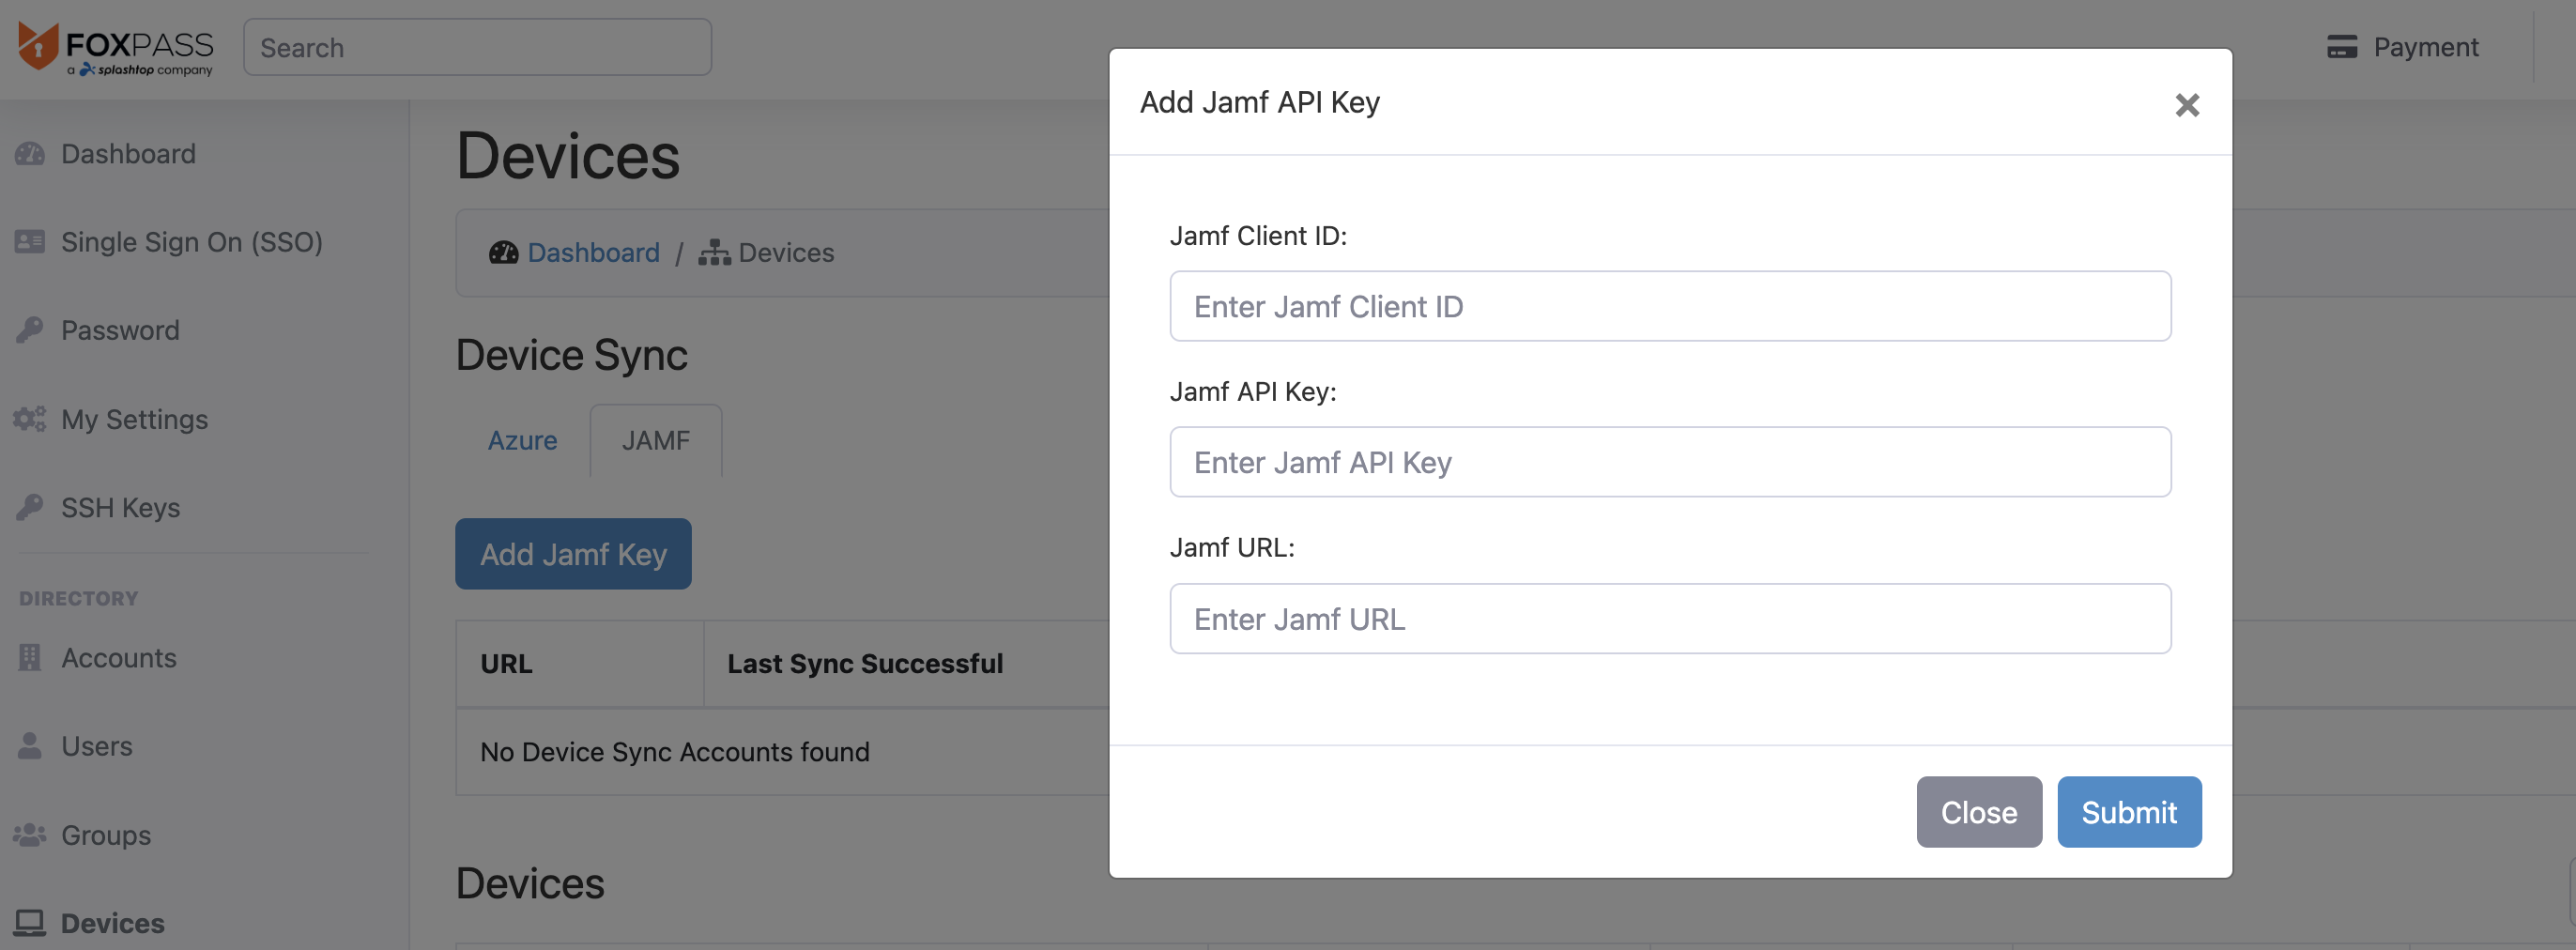
Enter Jamf credentials
- Click 'Sync Jamf Devices' and then 'Ok' to pull devices from Jamf and sync them to your Foxpass device console.
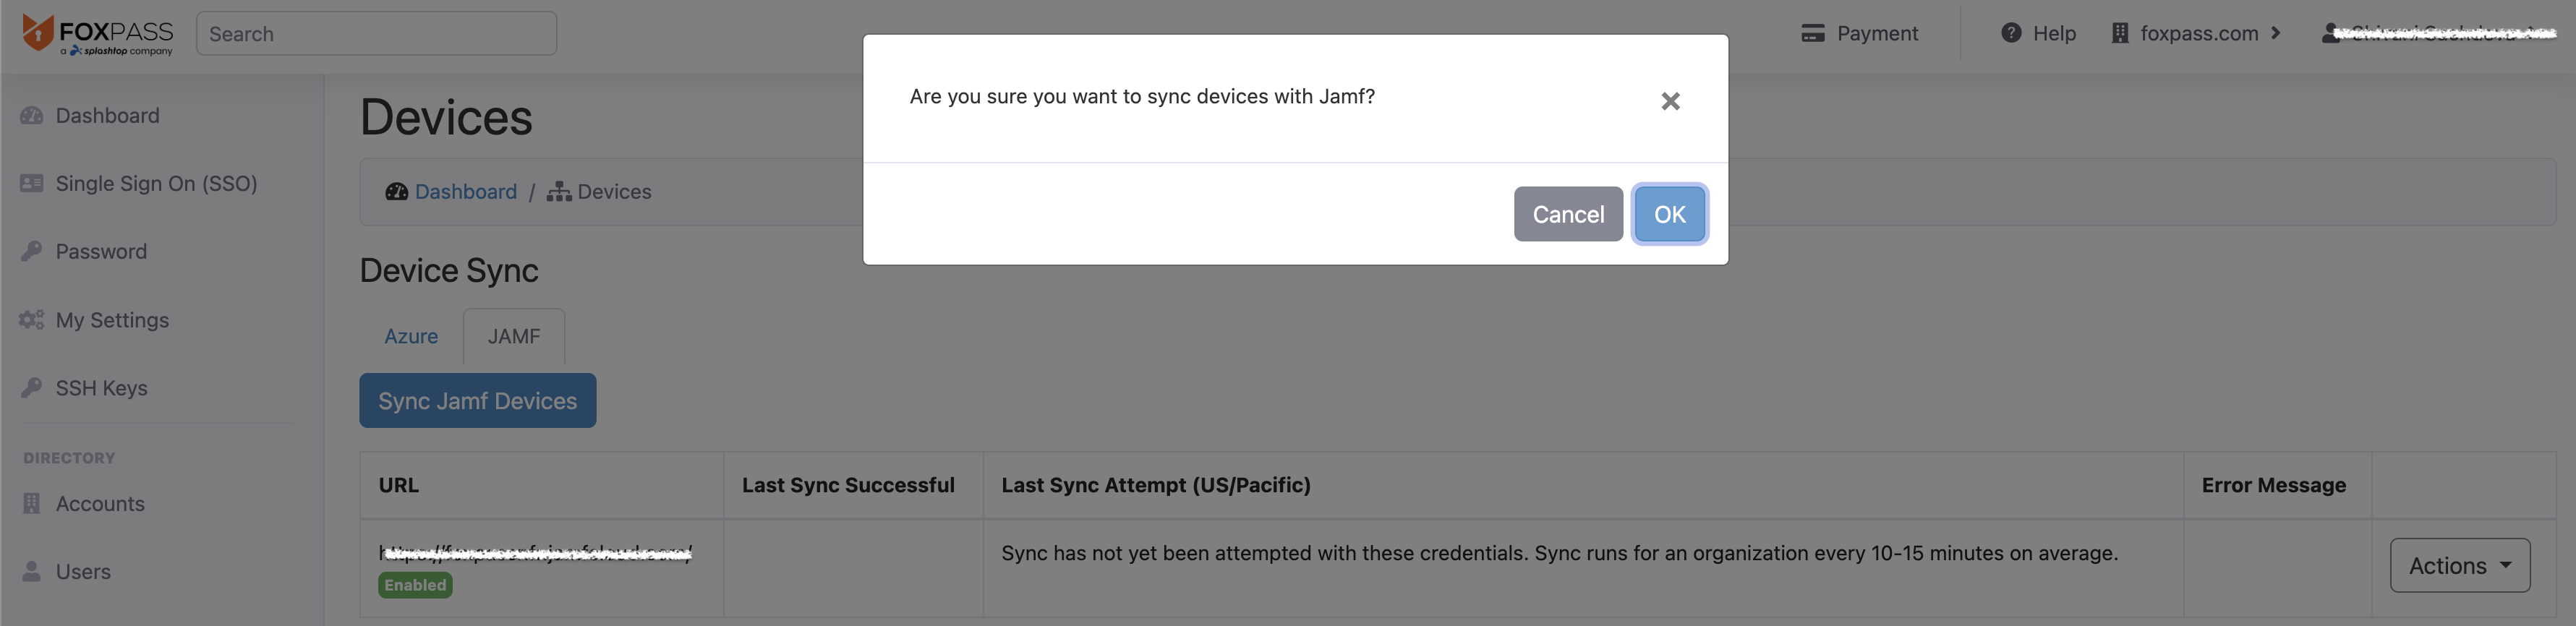
Confirm to perform Sync
Troubleshooting and Management
If JamfConnector details change or are incorrect, go to the actions bar to 'Disable' or 'Delete' the connector and set up a new one. Furthermore, if ensure async tasks are enabled in your config.py and that your Redis/Celery tasks are properly setup so the sync task can be handled appropriately.
For further assistance, contact [email protected].
Updated 5 months ago